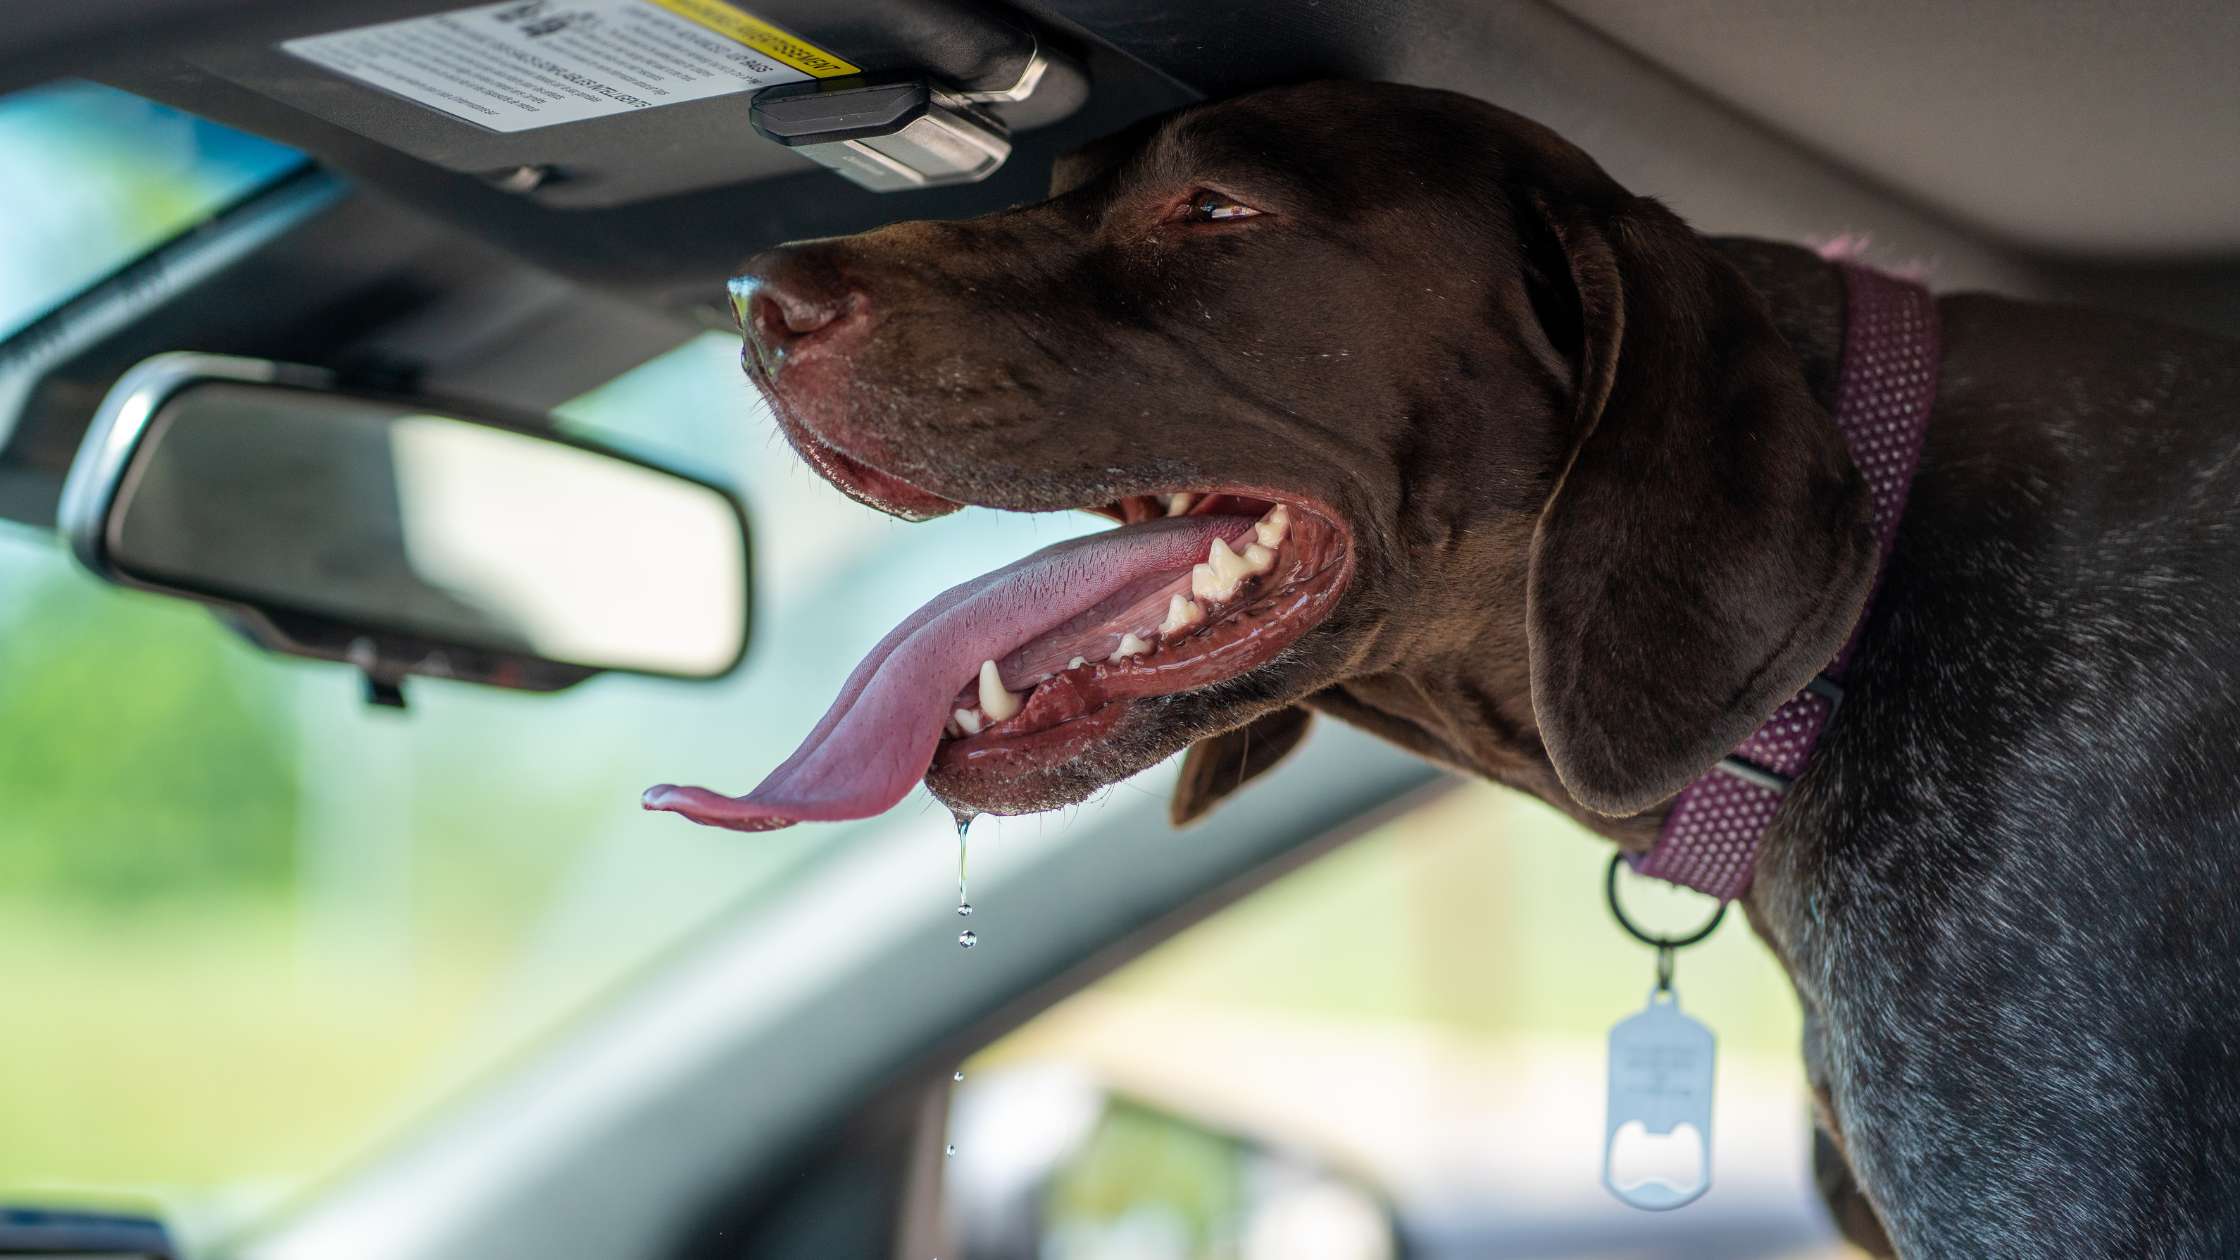
The joy of a road trip with your furry best friend is unparalleled. The wind in their fur, the happy panting, the shared adventure – it’s what makes memories. But back in the real world, a different kind of memory often lingers: a constellation of dog hair clinging stubbornly to every surface of your car, including the one you probably notice the most – the headliner.
Don't let a hairy headliner cast a shadow over your four-legged-friend-fueled fun. Getting that fur out might seem like a daunting, neck-craning task, but with the right tools and techniques, you can restore your car's interior to its former glory. This guide will walk you through the safest and most effective methods to de-fur your vehicle's ceiling, from a light dusting to a serious shedding situation.
Safety First: The Delicacy of Your Headliner ⚠️
Before you grab the nearest heavy-duty brush, it's crucial to understand that your car's headliner is a surprisingly delicate component. It’s typically made of a fabric layer attached to a foam backing with a specialized adhesive. Aggressive cleaning can easily damage this adhesive, leading to a much bigger problem than dog hair: a sagging, detached headliner.
To avoid this costly mishap, always remember these golden rules:
-
Be Gentle: No harsh scrubbing or excessive pressure.
-
Stay Dry (Mostly): Avoid saturating the headliner with any liquid. A light misting is the most you should ever use.
-
No Harsh Chemicals: Steer clear of all-purpose cleaners and strong detergents that can weaken the adhesive.
-
Cool It: Excessive heat can also compromise the glue, so put that steamer away for this job.
Easy & Quick Methods for Light Hair Accumulation ✨
For a few stray hairs or a light shedding, these simple and readily available tools are your first line of defense.
The Classic Lint Roller
A good quality, extra-sticky lint roller is perfect for a quick touch-up. Simply roll it gently across the headliner. Change the sticky sheet frequently for maximum effectiveness.
The Duct Tape Trick
In a pinch, a strip of duct tape or packing tape can be a surprisingly effective hair magnet. Wrap a piece around your hand, sticky side out, and gently pat the headliner. Be careful not to press too hard.
The "Static Shock" Method for Loose Fur 🎈
This method uses a bit of basic science to your advantage and can be surprisingly effective for loose, surface-level hairs.
How It Works:
Remember rubbing a balloon on your hair as a kid to make it stand on end? The same principle of static electricity can be used to attract and lift dog hair from the headliner fabric.
Step-by-Step Guide:
-
Inflate a Balloon: Blow up a standard latex party balloon and tie it off.
-
Generate Static: Vigorously rub the balloon on your own hair, a wool sweater, or a clean, dry cloth for about 10-15 seconds. This builds up a static charge on the balloon's surface.
-
Gently Skim the Headliner: Float the charged balloon just over the surface of the headliner. You'll notice the dog hair will be drawn to the balloon and stick to it.
-
Wipe and Repeat: Once the balloon is covered in hair, wipe it clean with a cloth and recharge it by rubbing it on your hair or the cloth again. Repeat the process until the loose hairs are gone.
Important Note: This method is most effective for fine, loose hairs. It may not be powerful enough to dislodge hair that is deeply embedded in the fabric. However, it's a very gentle and safe option for your delicate headliner.
Tackling Moderately Stubborn Hair 💪
If you're dealing with a more significant amount of fur woven into the fabric, it's time to step up your game with these proven techniques.
The Rubber Glove Method
This is a fan-favorite for a reason. Put on a pair of standard rubber cleaning gloves. Lightly dampen them with a fine mist of water – remember, don't saturate! Then, simply run your gloved hand across the headliner. The friction will cause the hair to clump together, making it easy to pick off.
Pet Hair Brushes and Stones
There are various brushes and pumice-like stones specifically designed to remove pet hair from upholstery. Look for one with soft, flexible rubber bristles. Use short, gentle strokes in one direction to lift the hair from the fabric. Test the brush on an inconspicuous area first to ensure it doesn't snag the headliner material.
Conquering Heavy Hair Build-Up 🌪️
For those "it looks like my dog exploded in here" moments, a vacuum cleaner is your best bet. However, this is where the most caution is required.
The Careful Vacuum
Use a vacuum with a soft brush attachment. This is non-negotiable to prevent damaging the fabric. Hold the attachment slightly above the headliner and use gentle, sweeping motions. Avoid pressing the vacuum directly and firmly against the headliner, as the suction can be strong enough to pull the fabric away from the glue.
Prevention is the Best Medicine 🐾
The easiest way to deal with dog hair in your car is to minimize it in the first place. Here are a few tips to keep your headliner looking fresh:
-
Regular Grooming: Brushing your dog regularly, especially before a car ride, will significantly reduce the amount of loose hair they leave behind.
-
Seat Covers and Hammocks: While they won't directly protect the headliner, using seat covers or a hammock-style protector can help contain the hair to a more manageable area.
-
Strategic Airflow: When driving, cracking the windows can help circulate the air and prevent some hair from settling on the ceiling.
With a little patience and the right approach, you can easily reclaim your car's headliner from the clutches of dog hair. So go ahead, plan that next adventure with your furry co-pilot, knowing you have the tools and knowledge to handle the hairy aftermath.